


The wall surface should be dry, clean, and degreased. Fleece-underlined wallpaper conceals minor imperfections, but if there are deep wall defects, they should be filled before starting wallpapering, and then the entire surface should be primed.
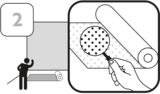
It is very important to check the condition of the wallpaper before starting the gluing process. To assess the wallpaper's condition and its alignment with expectations, it's best to lay out all its strips side by side, print side up, on a dry and clean surface. If the wallpaper consists of several panels, you should verify whether the pattern matches and whether there are no differences in color or weight between the individual segments at the joints.
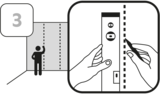
Wallpapering should begin with planning the arrangement of the wallpaper panels on the wall. For this purpose, it is recommended to mark vertical lines where the individual panels will meet. By applying the wallpaper along these marked lines, you ensure that the entire pattern will be aligned vertically.
Apply adhesive to the wall surface using a roller or brush to create a uniform layer. Apply the adhesive systematically to prevent it from drying out before placing the wallpaper. Important: Do not apply adhesive to the wallpaper surface!

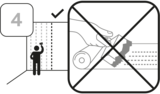
Establish the top of the pattern and start with the correct panel. Apply the wallpaper strips from the top of the wall, allowing one of the still-folded parts to hang freely downward. Remember to align the wallpaper strips along the previously marked vertical lines.
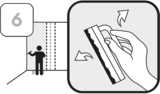
Before smoothing the wallpaper, ensure that the first strip is properly positioned (top to bottom and vertically). Never attempt to slide the entire strip. If adjustments are needed, fully remove it and start again—monitor if the adhesive is moist over the entire surface. Use a rubber roller or smoother to smooth the wallpaper.

Apply the second wallpaper panel as an overlap to the adjacent panel, aligning the pattern by using the common parts of both panels. Cut vertically through both layers of the wallpaper at the center of the overlap. Discard the cut-out piece of wallpaper, then gently peel back the wallpaper panel, removing the second cut-out from underneath. Smooth the edges where the panels meet using a pressing roller, and gently remove any excess adhesive with a damp cloth or sponge.
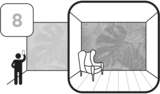
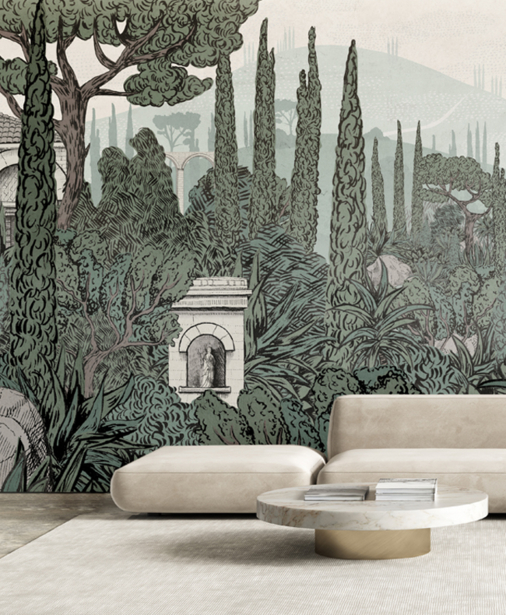
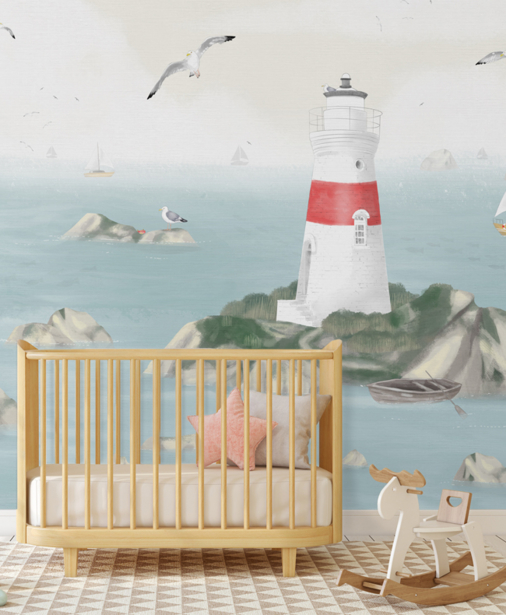
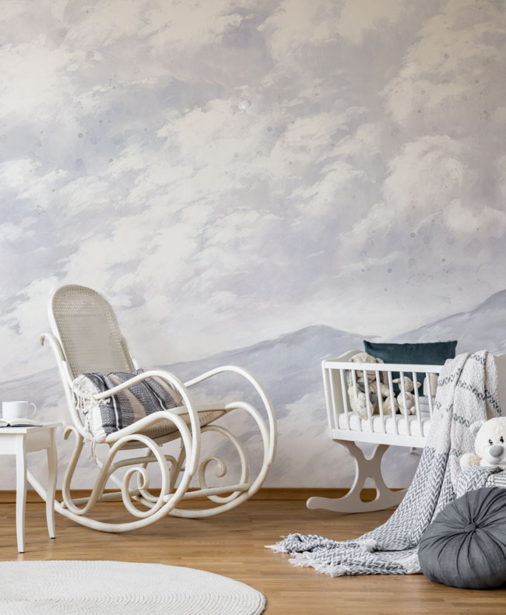
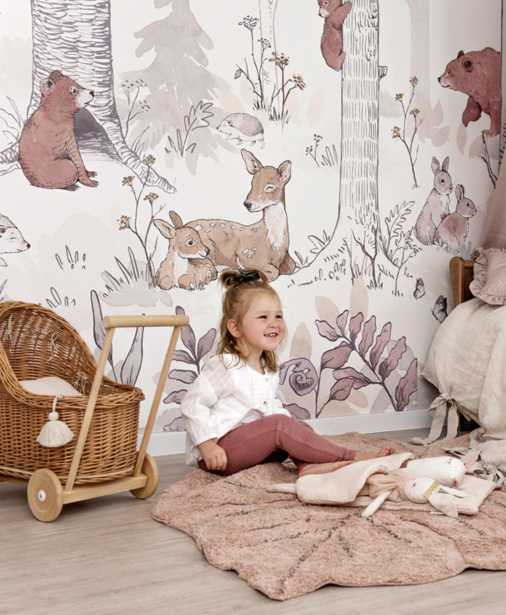
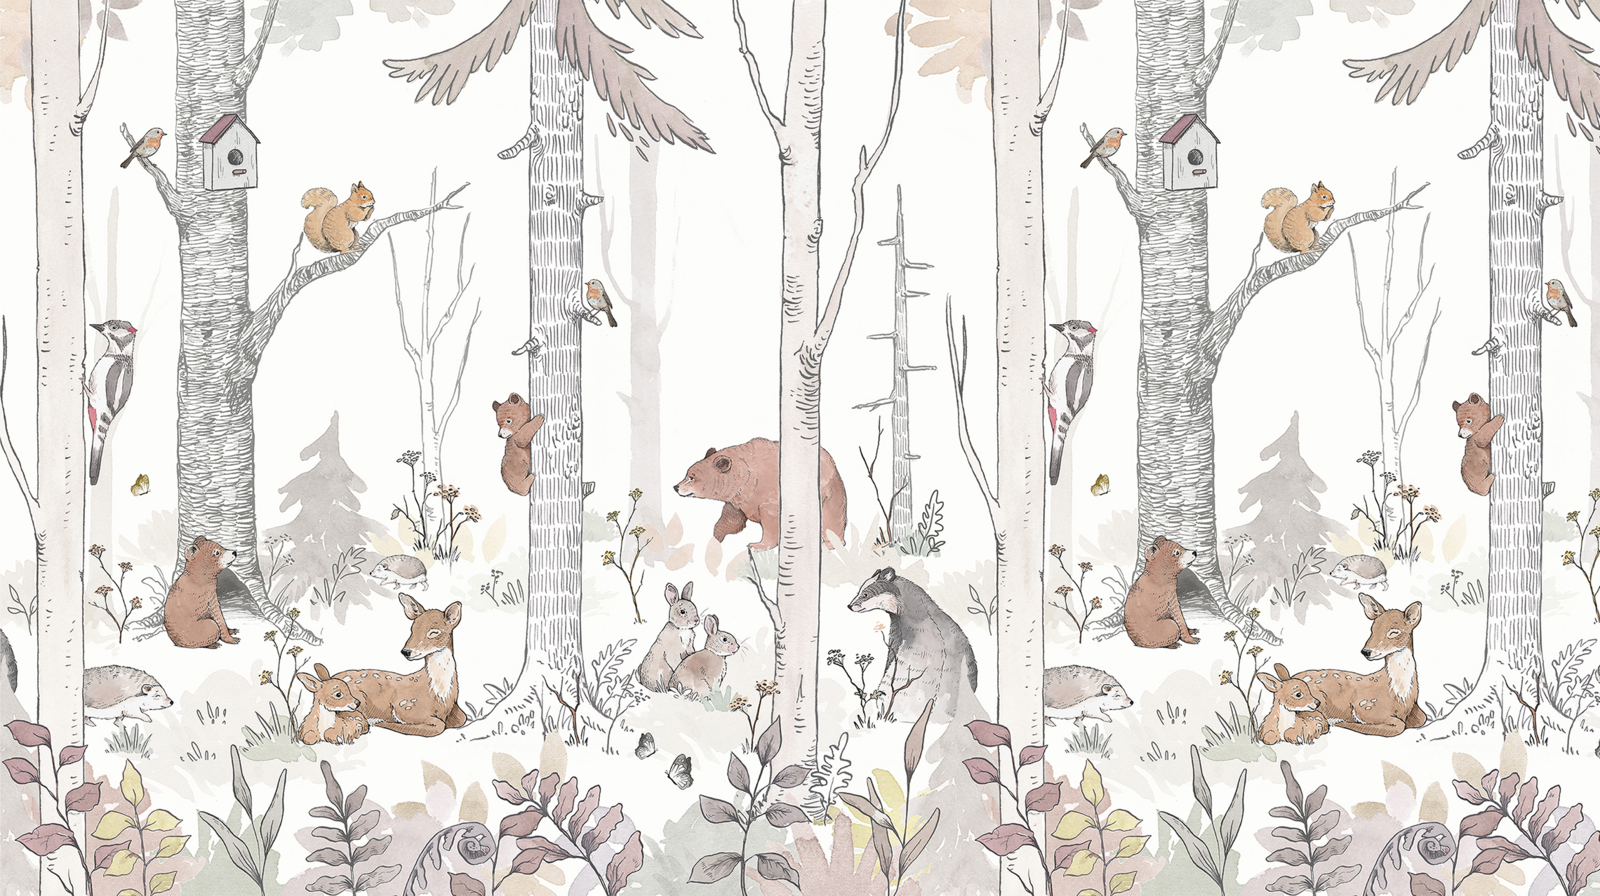
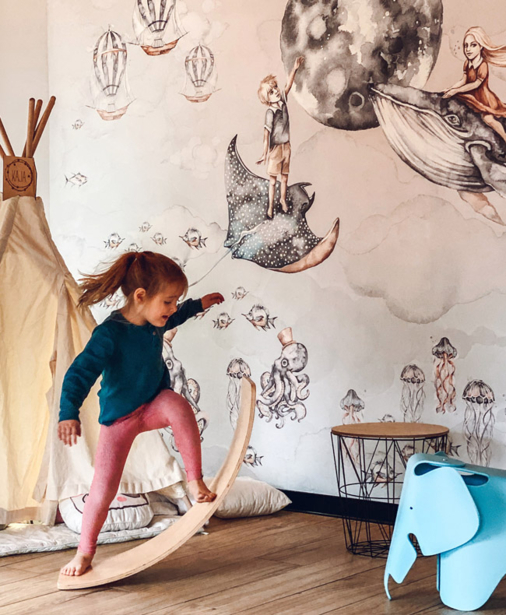
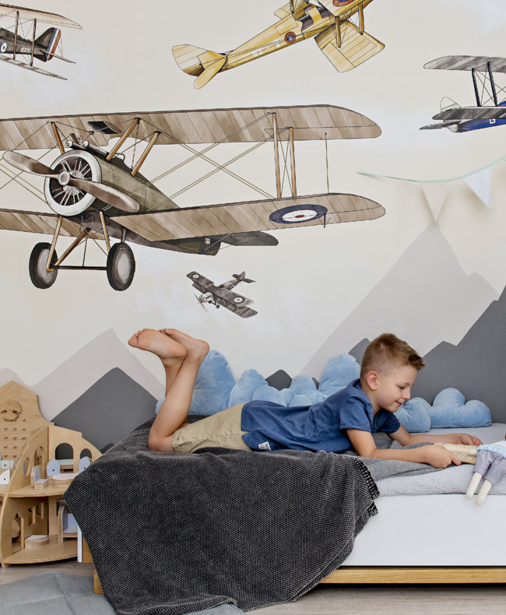
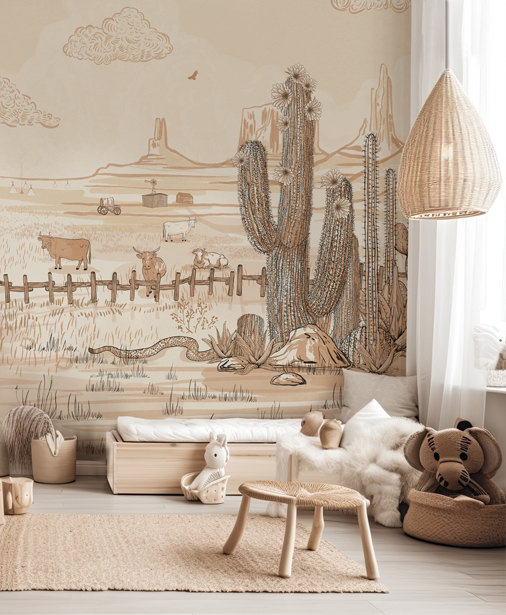
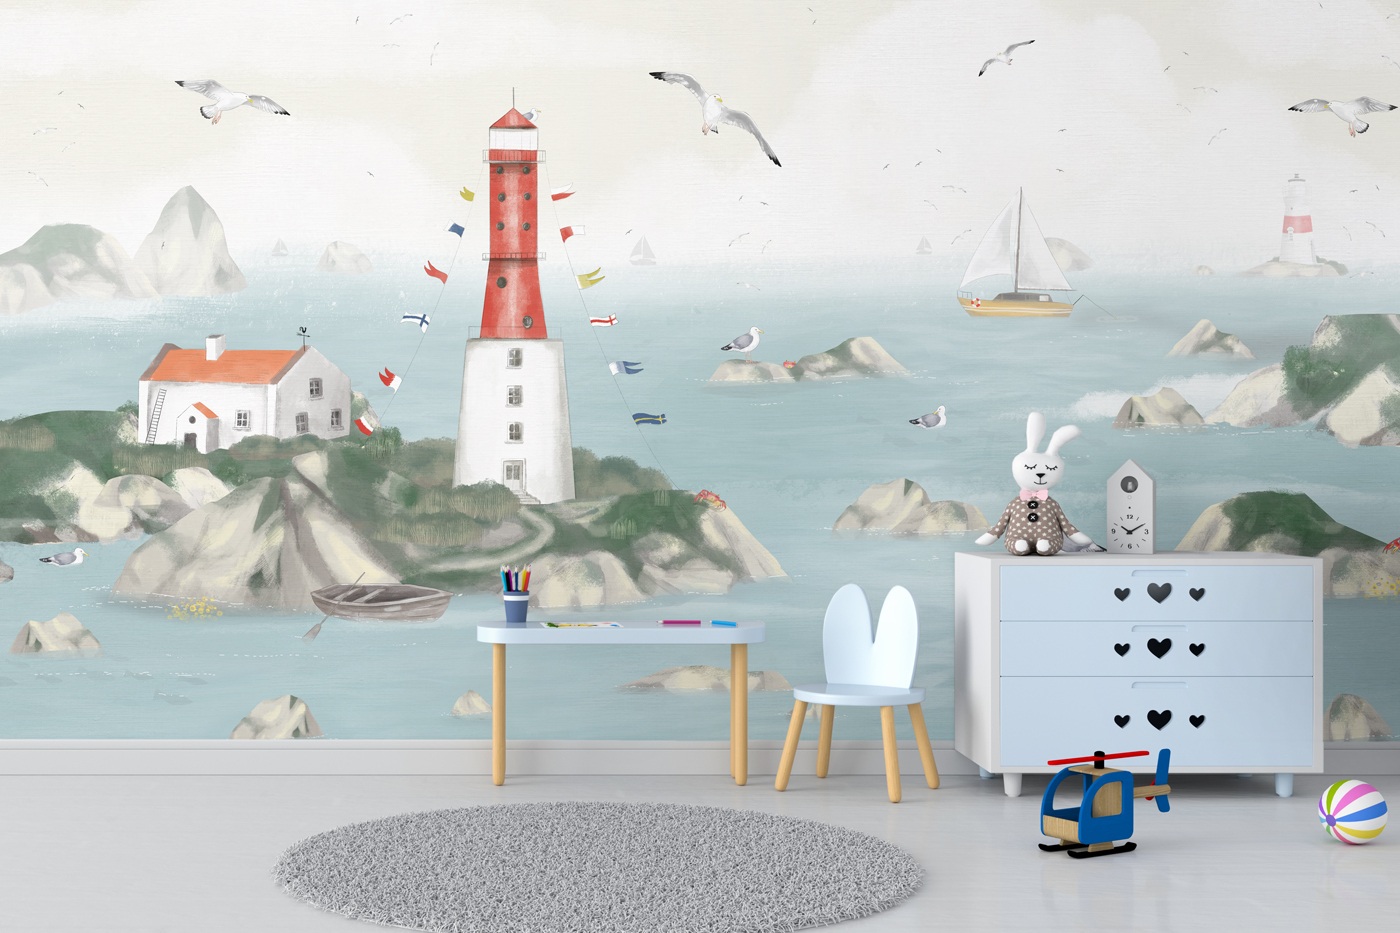
Walltime wallpaper successfully applied :) Now, complete the arrangement and enjoy your beautiful interior! We would greatly appreciate it if you could share a photo of the finished arrangement with us.